
The pom pom surprise for my boys is now up in their room. Yep, you guessed it, I made pom pom garlands. And had lots of fun doing it, and have many many more pom pom crafts planned. I am hooked! In fact, I may need a dedicated new board on pinterest - celebrating the pom pom!
I tried out a few methods of pom pom making - the ol' double cardboard donut method, the fork method, fingers method and the cheaty C method,
I have always found the double donut fiddly, and inevitably end up with my tongue out, though it does result in lovely, nearly perfectly round poms!
The fork method was a cute new way to make itty bitty pom poms but I did end up having to trim these a lot to get a really round shape.
I can never get the fingers method to work - I always end up with pom poms that look like they have been made in two halves :(
I will stick with the cheaty C method I think, as I was able to churn out much faster, rounder, happier looking pom poms this way. The C method is essentially the same as the donut method, but you don't have to guess how much wool/yarn you are going to use before you start, and you don't get to the point where you need to use a yarn needle. Hence the "cheaty" (read: easier) C method.
I know that there are purchase-able pom pom makers out there, but to buy one seems somewhat criminal, given I can make perfectly good ones without another piece of plastic in my life.
Here are some places to visit to get info if you would like to go a little pom pom crazy:
Ye olde cardboard double donut method: via crafted blog
Fork method: via vivid please
Fingers method: via dana made it
Cheaty C method: via craftaholics anonymous
The boys were somewhat chuffed with their new room decoration. Little Pickle told me I am a "beautiful maker", The Gherkin whispered a "wow" (the highest of compliments) and told me we needed to buy more wool to make more. Baby Pickle just laughed.
Hope you will enjoy some of my favourite inspirational pom pom moments:


Happy pom-pom-ing! xo


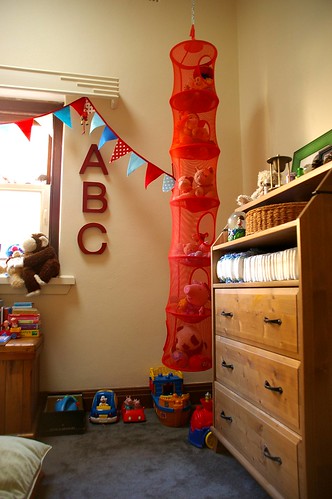
 Floorboards are yet to be sanded and polished, but are likely to come out much darker than this. Skirting boards (arriving in 2 weeks) will be quite deep (high) and painted white, we have gorgeous detailed cornices which you can't see in this photo - these plus ceiling will also be white. But to do with the rest of the space? We have a dark timber cot for bub, still waiting for us to pick up at the shop...


 I LOVE all of these brooches!!! I love that they are all hand-stitched (beautifully) and the fabric and colour combinations are just glorious... and thanks for all of the pink and red! Lovely!!! The summery colours and designs of the cards are also gorgeous, and will come to good use as I have recently started sending snail mail again... a lovely personal thing to do I think! (Funny that I have started this recently, now that I am spending so much time online).


 Here's me stuffing an elephant's trunk with the forceps. Now, I actually used the forceps to stuff all of the elephant, but did much of this at my lunch break at work, so no photos. One of the advantages promoted to us at the workshop of using forceps is that you can get right into corners with stuffing, as well as "the pain element", which is what happens when you try to overstuff a doll/toy (you end up with incredibly sore thumbs/fingers from the handles of the forceps if you are trying to overstuff and are exerting excess force!). As well, they have blunt ends, so won't go through your fabric!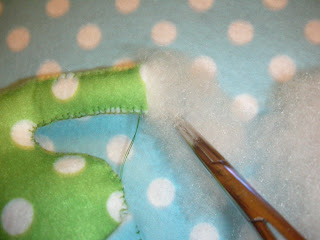
 Have a gorgeous week everyone,


